

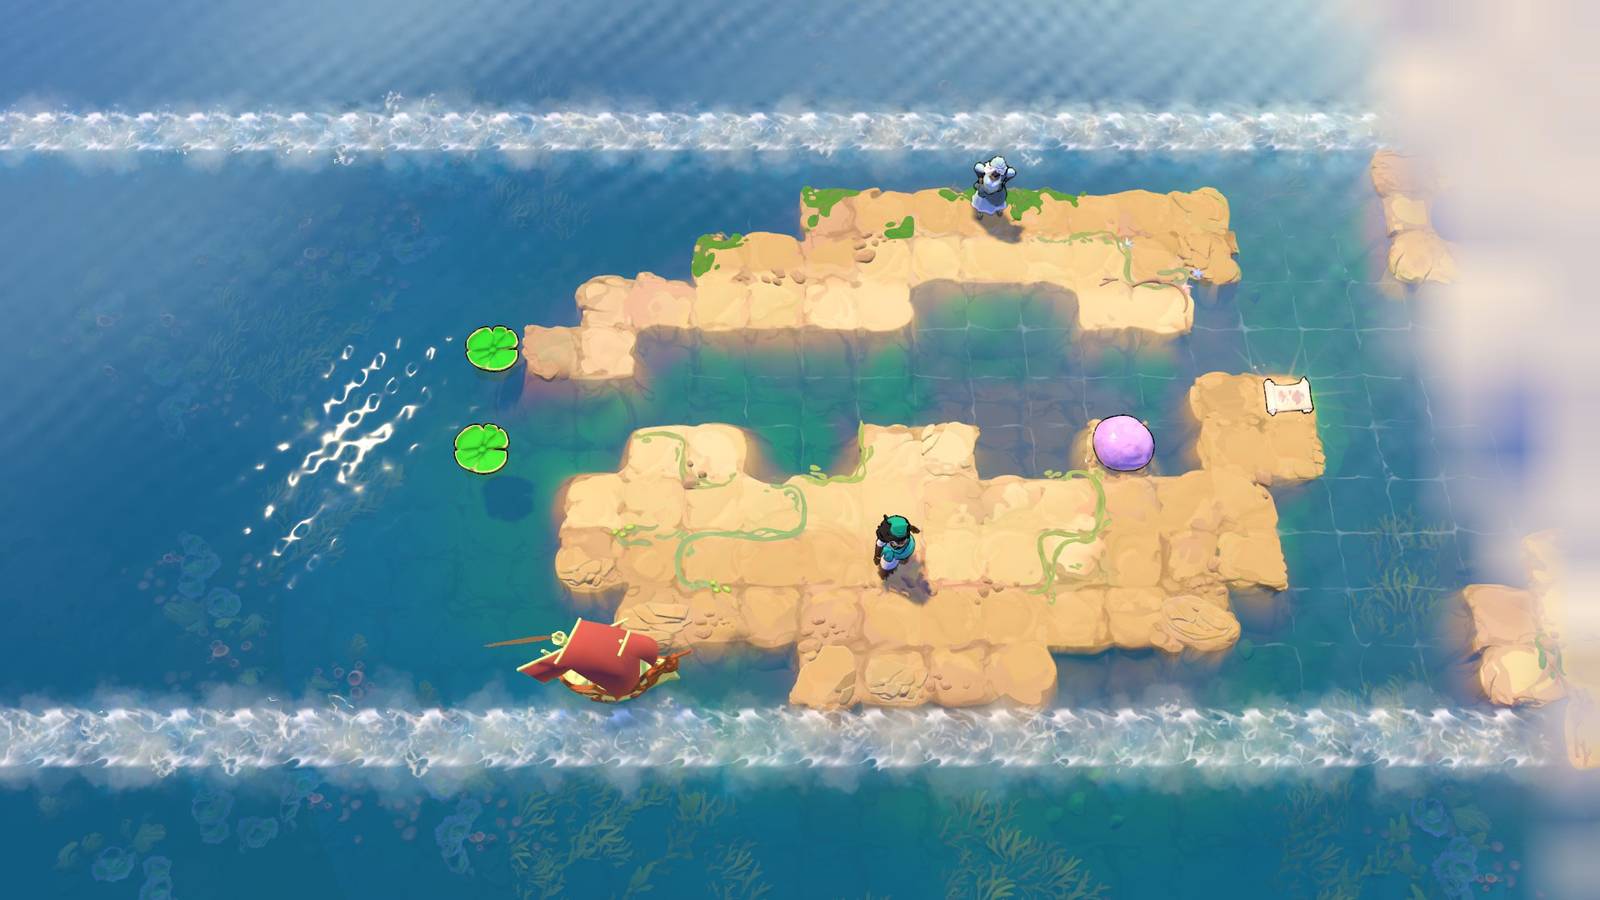


The second level in Skipping Stones to Lonely Homes, Order of the Sinking Star’s south world, features 12 puzzle screens. Those screens build on the foundation established by the first level, and a new character is added to the mix. This guide details the solutions to all the puzzles in Order of the Sinking Star’s Skipping Stones Level 2.
Each step in a puzzle solution is preceded by the character that should perform the action: C1 for character one and C2 for character two. You can choose which character you want to consider one and which you want to consider two in all but the final puzzle, where the character from level one must be assigned the role of C1.
Skipping Stones Level 2 Walkthrough
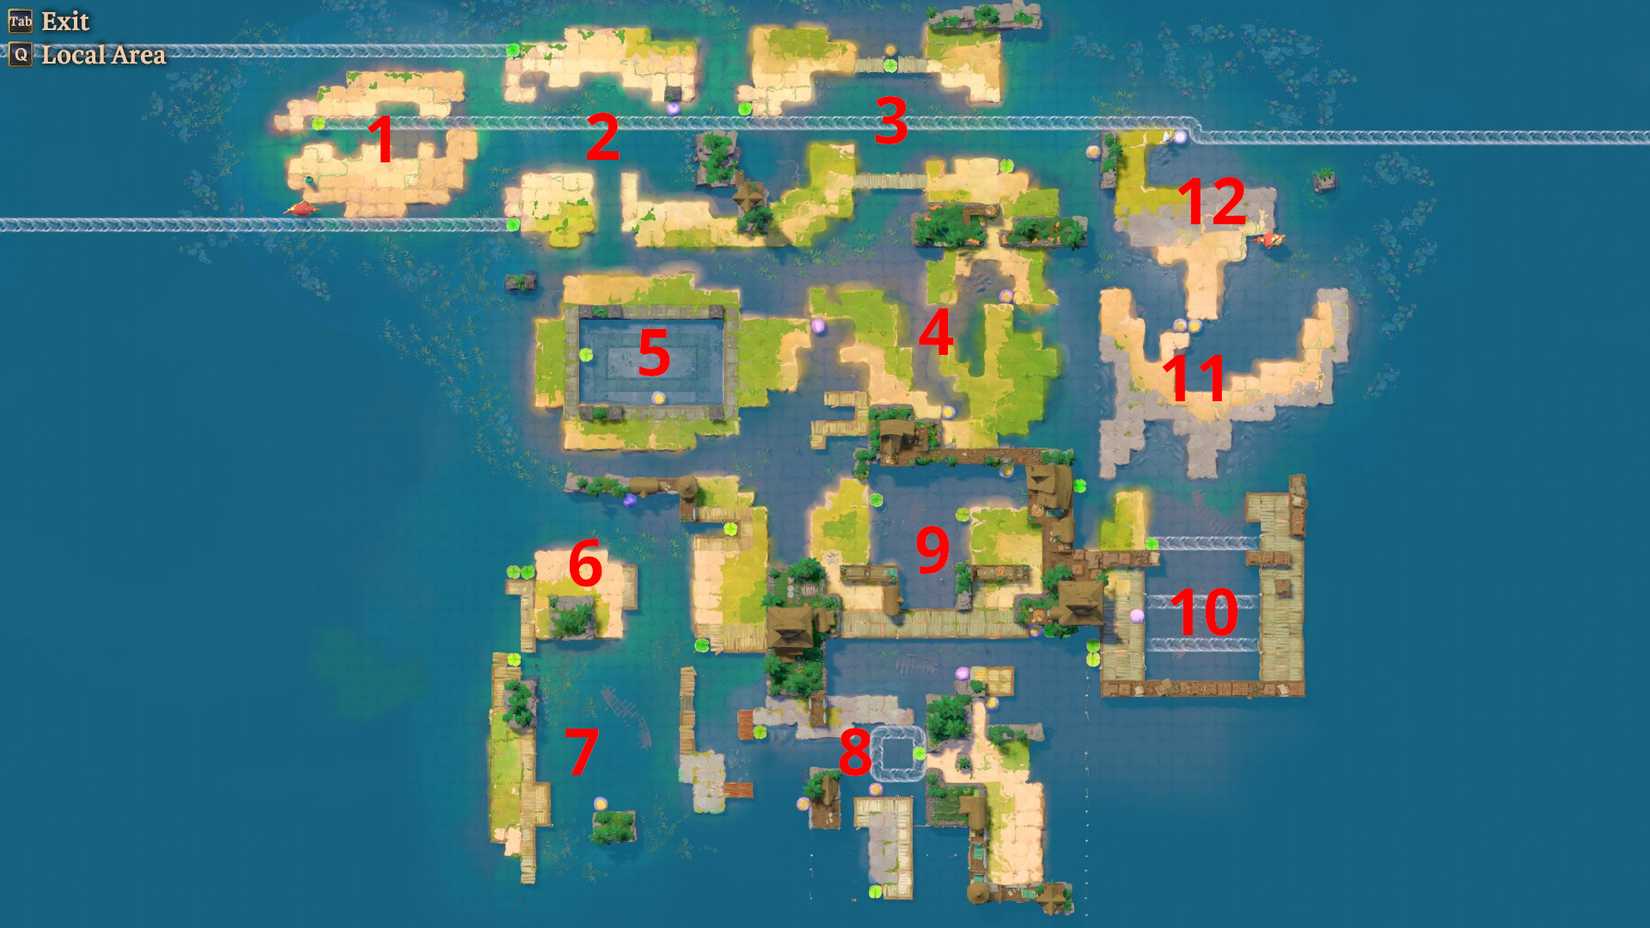
Use the following jump links to quickly navigate to a specific screen solution:
Screen #1 Solution
C1: Push the stone up across the water.
C2: Push the left across the water. Then push it back down to C1.
C2: Move left x4
C1: Push the stone left across the water. Then push it back up to C2.
C2: Push the stone right, then down, sending it back to C1 but in a new row.
C2: Move to the lily pad on your left.
C1: Push the stone right x8, up x2, left, sending the stone between the lily pads and pushing them into the currents.
C1: Get on the lily pad as it passes at the bottom to ride to screen #2.
Screen #2 Solution
C2: Push the stone left x4, down x2, sending it to C1.
C1: Push the stone into the column to the left of the lily pad. Then push it up and quickly get on the lily pad. Disembark on the landmass to your right.
C2: Push the stone right across the water. Then push it down to send it to C1.
C1: Push the stone under the lily pad (right x2), then up to send it to C2. Move down so you won’t stop the stone when it is sent back.
C2: Get on the lily pad. This will send the stone back to C1.
C1: Push the stone left, up to send it to the left of the lily pad, giving C2 a ride to the next screen. Then move to the next screen.
Screen #3 Solution
C2: Push the stone down to C1.
C1: Push the stone right x2, up x4, sending it back to C2.
C2: Push the stone right, down, sending the stone back to C1 and moving the lily pad right.
C1: Push the stone right when the lily pad is almost in line with the gap in the upper bridge. The goal is to get the lily pad into that gap.
C2: Push the blue stone left x11, down x3, sending it to C1.
C1: Push the blue stone right x3, up, right x10, down, right x4. It is now in the column to the right of the lily pad. Push the stone up to send the lily pad to the left.
C2: Push the pink stone to the row above the lily pad. Push it to the right, then quickly get onto the lily pad to catch a ride down to C1.
C1 & C2: Head down to the next screen.
Screen #4 Solution
C1: Move to the right of the pink stone. Then push the stone left across the water.
C2: Move to the left of the pink stone and push it right across the water. It will stop at C1, creating a path that can be used to reach the checkpoint.
C1: Move right x2.
C2: Get under the blue stone and push it up across the water.
C1: Push the stone left, down to return it to C2’s side.
C2: Push the stone left x2, down x6, left x3.
C1: Move left, down x6, left x3, up, left, up. You’re now in the same column as the blue stone.
C2: Push the blue stone up to C1. Stay in this position.
C1: Push the stone down. It will stop at C2, creating a path to the next checkpoint.
C2: Move to the bottom-left corner of the wooden dock.
C1: Push the pink stone left x2. Then move up x3, left x2.
C2: Push the stone up. Then move right, up x6, left x4, up.
C1: Push the stone to the square below C2. Then move to the bottom-left corner of the wooden dock.
C2: Push the stone down to C1. Stay in this position.
C1: Push the stone up to C2. It will stop at C2, creating a path to the next checkpoint and screen.
Screen #5 Solution
C1: Move above the blue stone.
C2: Move across the water from the blue stone, on the square adjacent to the water.
C1: Push the blue stone down. It will stop at C2.
C2: Move onto the submerged stone.
C1: Push the pink stone down across the water. Then push it left so it is under C2.
C2: Push the stone down, left x6, up x7. Then push it right to send it to the right side of the water.
C2: Push the stone down x2. Then push it left, sending the lily pad to the left side of the water. Move right.
C1: Push the stone right back to C2. Stay on the lily pad.
C2: Push the stone up x2, left to send it across the water. Then push it to the left of C1. Then stand on the left lily pad.
C1: Push the stone left x2, up x2, putting it in the row above the lily pad. Then push the stone left and quickly board the right lily pad.
Screen #6 Solution
C1: Move the right stone right, down x4.
C2: Move the left stone left, down x4.
C1: Push the stone down, sending the lily pad to the left.
C2: Just before the lily pad reaches C2, push the stone down to send it back right.
C1: Ride the lily pad to the next checkpoint.
C1: Push the top stone left across the water.
C2: Move below that stone.
C1: Push the remaining stone all the way up, sending the lily pad to the left.
C2: Just before the lily pad reaches the column with C2, push the stone up to send the lily pad back to the right.
C1: As the lily pad passes, push the stone down onto it.
C1: Push the stone down x8, right x2, down to send the lily pad to the left.
C1: Quickly move across the lily pad to reach the dock in the bottom-right corner.
C2: Quickly move across the pad to reach the dock in the bottom-left corner.
C1 & C2: Move down to the next screen.
Screen #7 Solution
C1: Touch the interdict.
C2: Push the top stone down x6. Then push the middle stone right across the water.
C1: Move the stone up, right, down x2. It is now in the row above the lily pad.
C2: Move to the left of the bottom stone and push it to the right.
C1: When the stone is in the middle of the foliage-covered stone, push the stone right. With the right timing, the lily pad will be sent down and then back up.
C1: Ride the lily pad to reach the next checkpoint.
C1: Push the stone right x2, left. Then push down to send the bottom lily pad left.
C2: Move above the stone. When the lily pad reaches the dock, push the stone down (sending the lily pad to the right) and quickly board it when it passes the dock to reach the next screen.
Screen #8 Solution
C2: Push the stone up x3, right x2 to put it under the lily pad. Push up to send the lily pad into the current.
C1: Board the lily pad and push the stone down when it is in the top-left corner of the current.
C2: Push the stone up when C1 is in the bottom-left corner of the current, creating a path C2 can use to get on the lily pad.
C1: Disembark on the right side of the current.
C2: Ride the lily pad and disembark on the right side.
C1: Move onto the right lily pad.
C2: Push the top stone onto the left lily pad. Then push the bottom stone right, sending the two lily pads upward.
C2: Quickly run to the space that is left, down from the wooden square in the top-right corner.
C1: When you reach C2’s row, push the stone left. It will stop at C2, creating a path she can use to reach the next screen.
Screen #9 Solution
C2: Push the stone right, creating a path C1 can use to reach the dock.
C1: Touch the interdict. Then push the left stone up x2, right. It’s now in the row with the lower lily pad.
C2: Push the right stone up x2, right. Then push it up, sending the lily pad to the left. Quickly board the lily pad.
C1: As C2 moves left, push the stone right, sending the lily pad and the stone right.
C2: Push the stone down when it is below C2, sending it down to the dock at the bottom. Then move to the bottom lily pad below that dock.
C1: Push the stone so that it is up, left from the top lily pad below the dock. Push it down to send the lily pads to the right, and quickly board the top one.
Screen #10 Solution
C1: Push the stone down x2, putting it in the row below the lily pad.
C1: Push the stone right, sending the lily pad up to the current. Quickly board the lily pad as it passes.
C1: Push the stone back left to C2’s side.
C2: Push the stone up x4, putting it in the row above the lily pad. Then push it right to send the lily pad down to the current.
C1: Push the stone back left to C2’s side.
C2: Move the stone into the row below the lily pad. Push it right to send the lily pad up to the current, and quickly board.
C1: Quickly move the stone up to the row below the middle current, and push it left when C2 reaches the midpoint. This will send C2 up to the top current.
C2: Push the stone down, right, sending it to C1’s side.
C1: Push the stone up x2, right, putting it in the column to the right of the lily pad.
C1: Push the stone up to send the lily pad to the left. Quickly board, and disembark at the top-right landmass.
C2: Board the lily pad when it arrives, and disembark at the top-left landmass.
Screen #11 Solution
C1: Push the right stone left, up, right x3, up x4. It’s now in the row below the next checkpoint.
C2: Push the left stone up x3, right. It’s also in the row below the next checkpoint.
C1: Push the stone left across the water.
C2: When the first stone is four squares right of the checkpoint column, push the stone right. If the timing is right, the stones will stop each other, creating a bridge to the checkpoint.
Screen #12 Solution
C1: Stand on the lily pad.
C2: Push the blue rock up, right, putting it in the column to the left of the lily pad.
C2: Push the pink rock right x2, up x2, right x6, putting it in the top-right corner of the landmass.
C2: Push the blue rock up, sending the lily pad and C1 right.
C2: Just as the lily pad passes the landmass, push the pink rock right, sending the lily pad up to the current.
C2: Quickly run to the left side of the blue rock and push it right. Then push it right again when there is one empty space between the stone and the lily pad. This will divert the water upward, sending C1 back to her ship.

Developer(s)
Thekla Inc.
Publisher(s)
Arc Games
Number of Players
Single-player
Steam Deck Compatibility
Unknown