




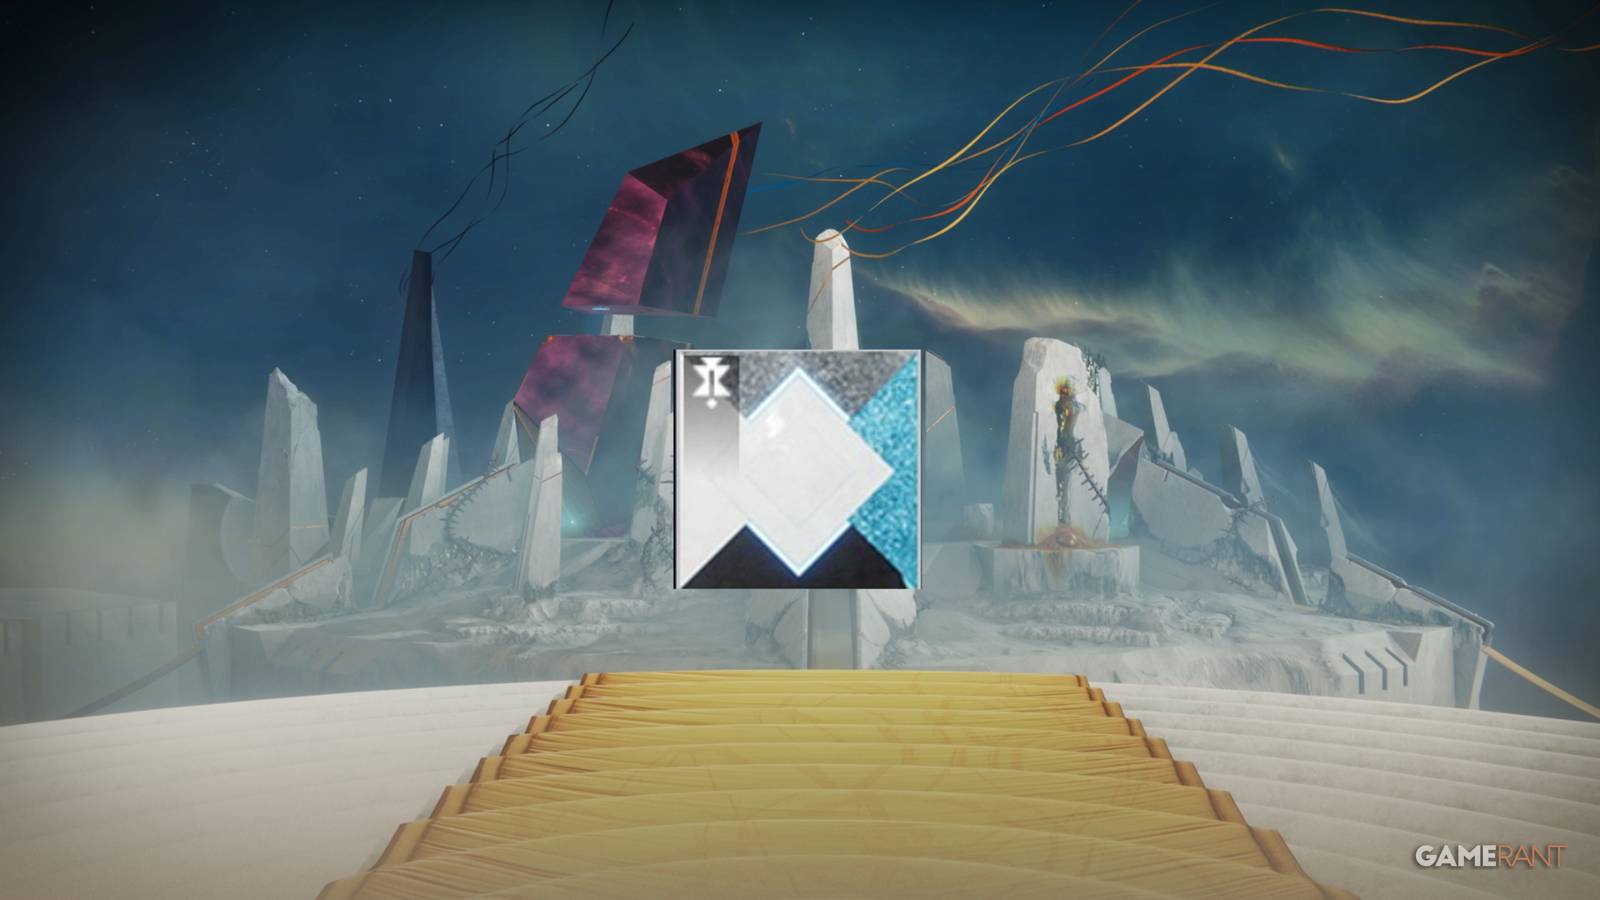


If you’ve managed to beat and farm Koregos in the Desert Perpetual raid, you might be wondering what you can do about the Map and Territory quest that you’ve picked up without realizing you’ve made progress.
The Map and Territory quest rewards the Envoy’s Tog shader, but it is going to require you to head back into the Desert Perpetual to find and place 12 anchors, including one in each boss room after you’ve beaten them.
Related
Destiny 2: All Raid Loot Tables
Curious to find what loot drops from every Raid in Destiny 2? We’ve got you covered with these updated loot tables with encounters, drops, and more!
The Map and Territory Quest is obtained from Dean Rebecca on Kepler for those who own The Edge of Fate expansion, and the steps involved below begin once you complete the raid by defeating Koregos, where you can pick up the Network Sensor from in front of the Raid chest.
How to Use Your Network Proximity Sensor to Identify Areas Where Simulations Converge
For this step, you need to locate 12 Anchors in the Desert Perpetual Raid and interact with them. Of those 12, 9 of them can be done solo, as 3 of these Anchors will only appear after you defeat the bosses:
Anchor #1
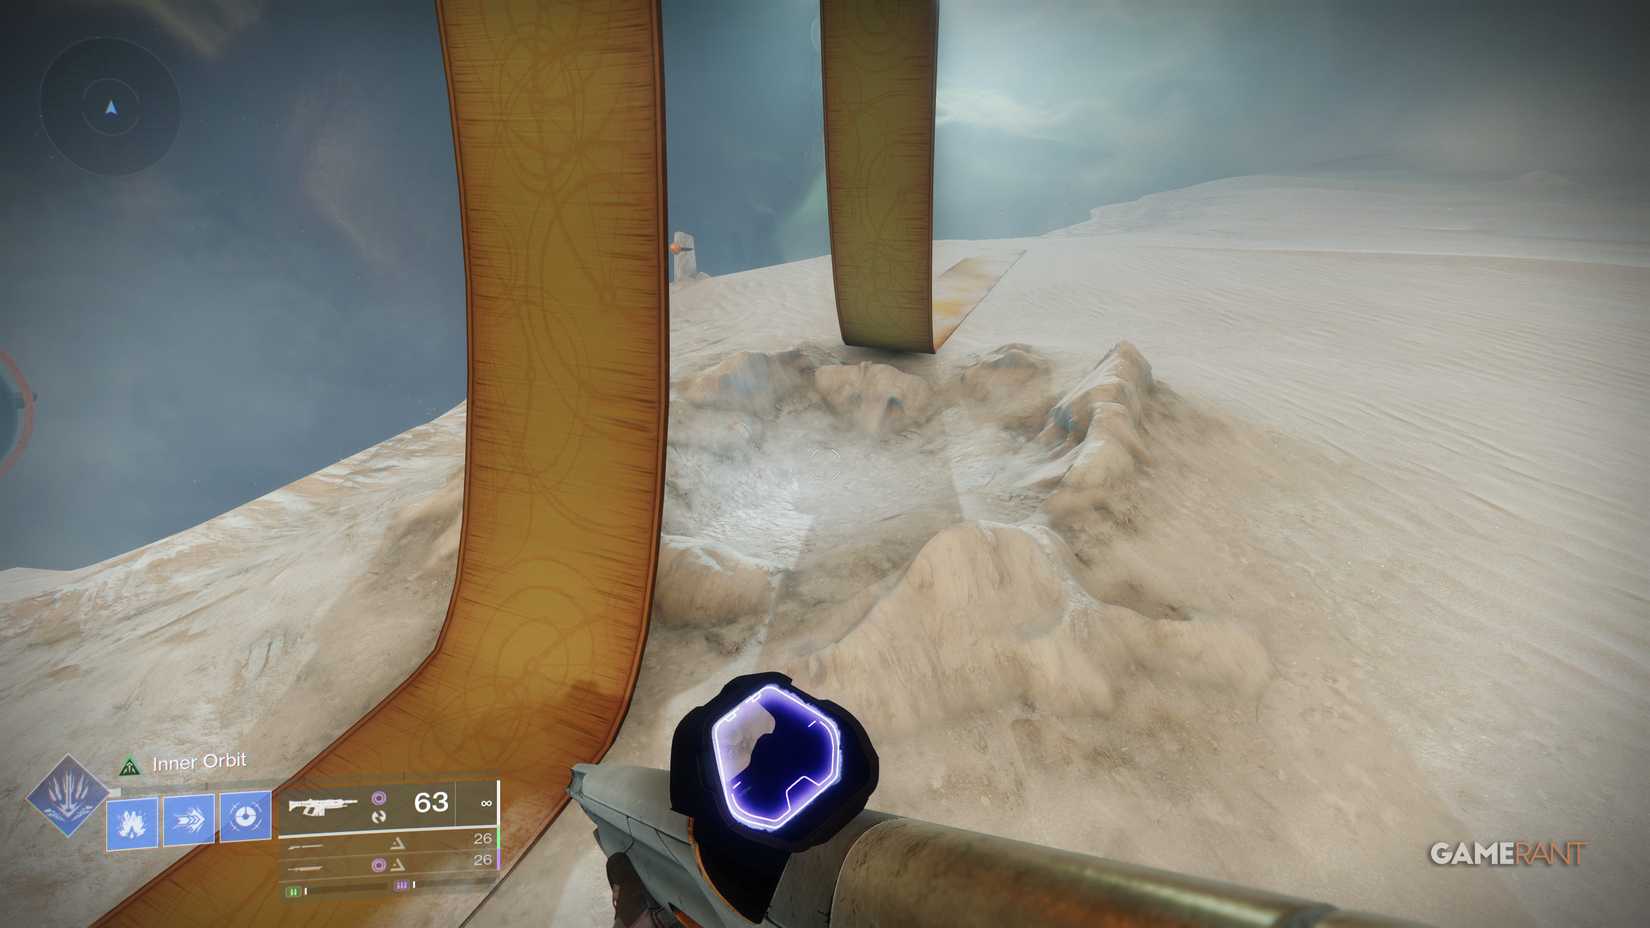
When you spawn in the Desert Perpetual raid, jump off to the side of the golden ribbon you’re standing on, and you’ll find the Anchor in the crater just below spawn.
Anchor #2
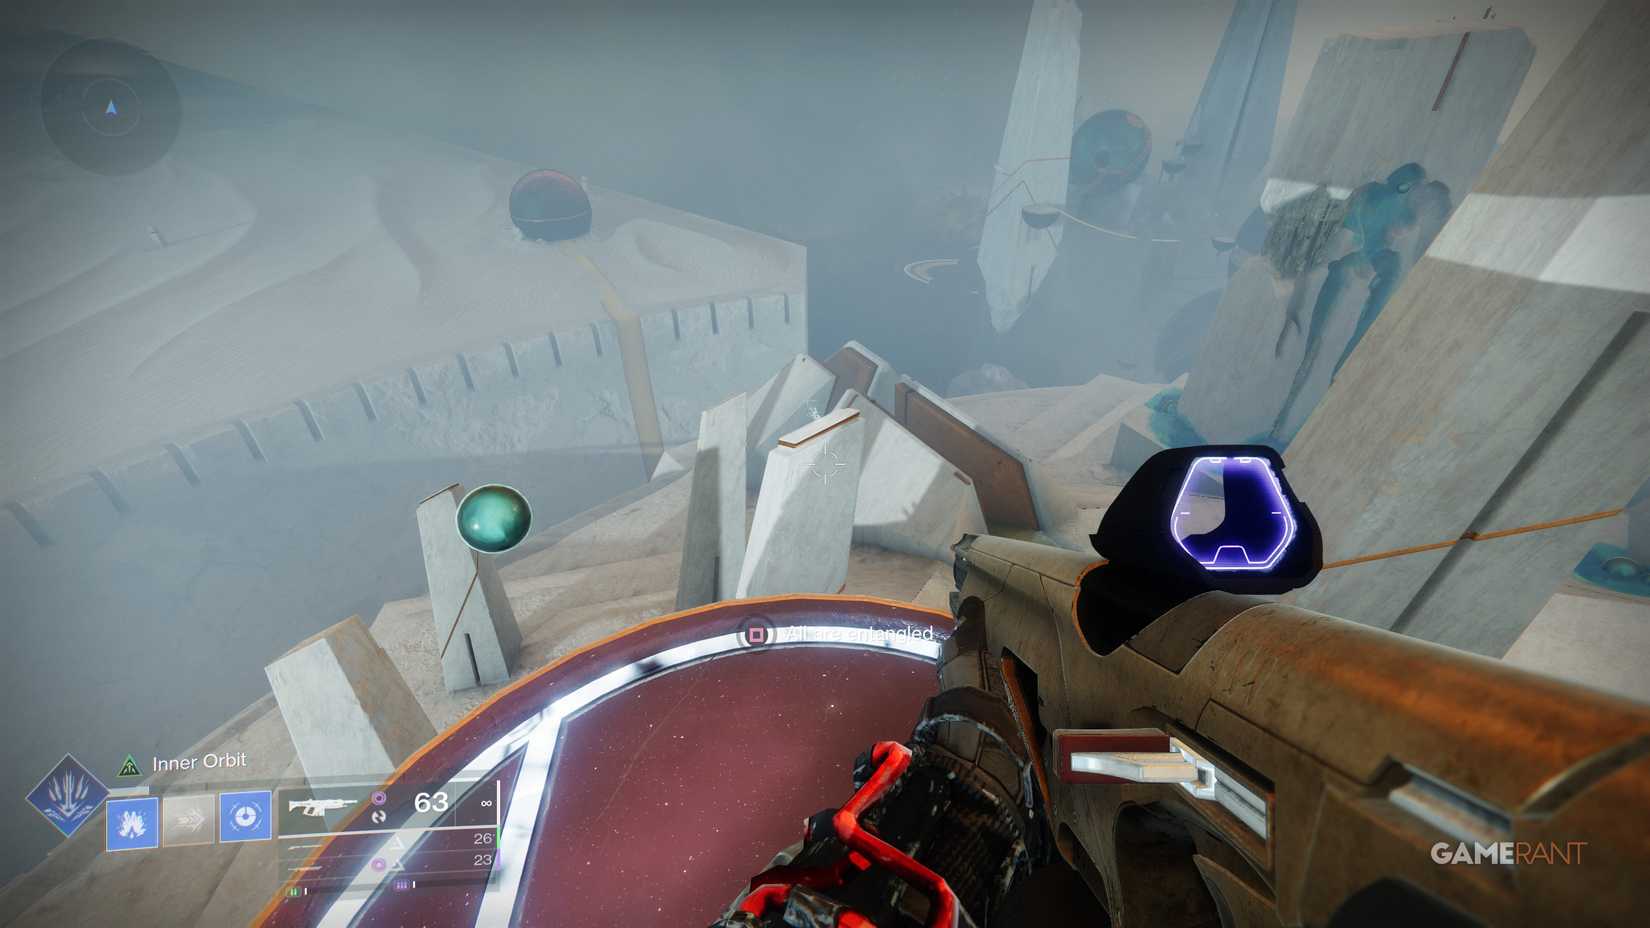
Follow forward from the golden ribbon and head into the large gold and purple building, where you will be taken up to the central station. In the left corner, the text “All Are Tangled” appears, and you can jump below to a pillar for this Anchor.
Anchor #3
Continue on the path from Anchor #2 to find a large gap to the next area. You can use Grapple (Strand) and Eager Edge Power Swords to reach this location, where, to the right of the golden ball, you can find another Anchor.
Anchor #4
Return to the starting platform (shown above) and head to the front left to follow a golden ribbon path that will take you to a purple ball, and you can follow the path to the left to enter another ball, which has a drop-down area.
Continue falling down and head to the right, where you can find another golden ribbon bridge that can be followed back up, where you can jump/grapple up high to grab this Anchor, which is on the top of the building.
Anchor #5
From Anchor #4, jump across to the platform above and then jump to the next platform just ahead with a floating pillar. There’s another Anchor here to interact with.
Anchor #6
Continue on the left path from spawn to reach the Hydra boss, Epoptes. After defeating this boss, you can find the Anchor inside the tents.
Anchor #7
Return to the central purple building where Anchor #2 was, and turn around for the golden ribbon on the path that will lead you across a bridge and down into a strange pathway below. Follow the ribbons, and you’ll find a building with a door covered in Nine symbols, but to the right of that is an Anchor.
Anchor #8
From Anchor #7, have your back to the door with the Nine symbols. To the right, you will see a wall you can climb towards. Follow the path forward on the edge of the cliff to find another Anchor.
Anchor #9
Anchor #9 can be found after defeating Agraios, the Hobgoblin boss who is located on the south path when following on from the central platform encounters. Once you defeat Agraios, head to the cliffside to find the Anchor facing III.
Anchor #10
Return to the Anchor #2 central platform again and head to the right path to follow the golden ribbon through an orb. On a floating platform, head right to the rotating orb where you can jump inside its center, where you’ll find another Anchor.
Anchor #11
From inside Anchor #10, keep jumping across the half circle platforms, and to your right, you’ll see an island in the distance that you can reach through Eager Edge, jumps, Grapple, and even skating. Follow the building around to the right to find the Anchor.
Anchor #12
Continue east from the central platform area for the Iatros Wyvern boss encounter. Once you and your team have defeated Iatros, you can head just to the right of the encounter reward chest for the final Anchor.
Once you have placed all 12 Anchors, you can return to the central boss area where you would fight Koregos, however, you can come here without engaging with the boss at all. At the back of the statue of the Conductor, you can interact with the Simulant Ansible to get the Envoy’s Tog Shader and complete the quest.
Released
August 28, 2017
ESRB
T For TEEN for Blood, Language, and Violence
